The Initial Setup Process using the Setup Assistant
Initial Setup: Part 1
-
Firstly, download/ install the M-Files DMS Connector App from Microsoft AppSource.
Administrator permissions
Please note that for the installation of the app the permission set "EXTEND. MGT. - ADMIN “ must be assigned. Further information can be found here.
-
If the app has been downloaded from the Microsoft AppSource, you will see a banner notification on your home page that the DMS Connector has not been set up yet.
-
Click "Set up now" on the notification to start with the supported setup.
-
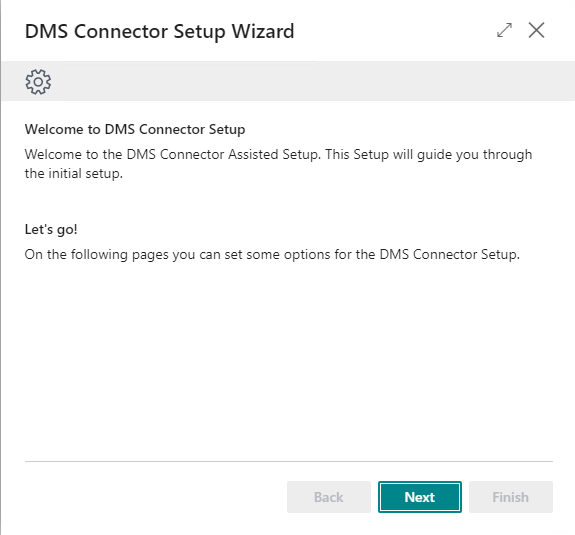
Click "Next".
-
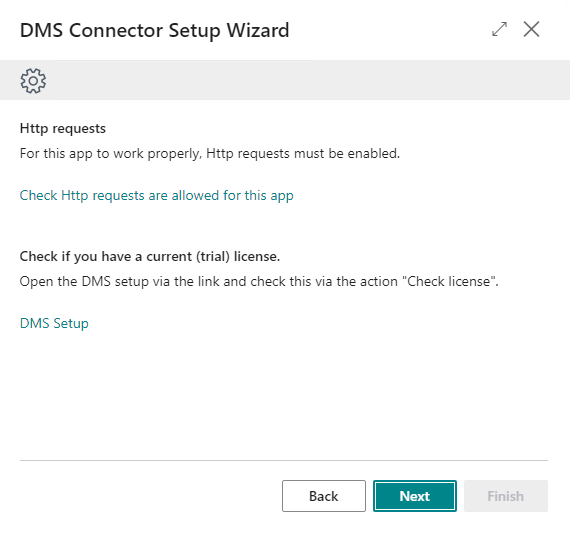
Firstly, make sure that http requests are enabled. This can be set by navigating via the Settings symbol -> "Advanced settings" -> "Extensions" -> "DMS Connector" where this can be activated by enabling the Allow HttpClient Requests toggle.
-
Next, open the DMS Setup window by clicking on "DMS Setup" in order to request and retrieve a (trial) license. Within the DMS Setup window, click on "Retrieve License Information". You can find further details regarding your license in the License Information section.

For now, close the DMS Setup window in order to proceed with the assisted setup process.
License
Further information about your license management you can see here: License Management.
-
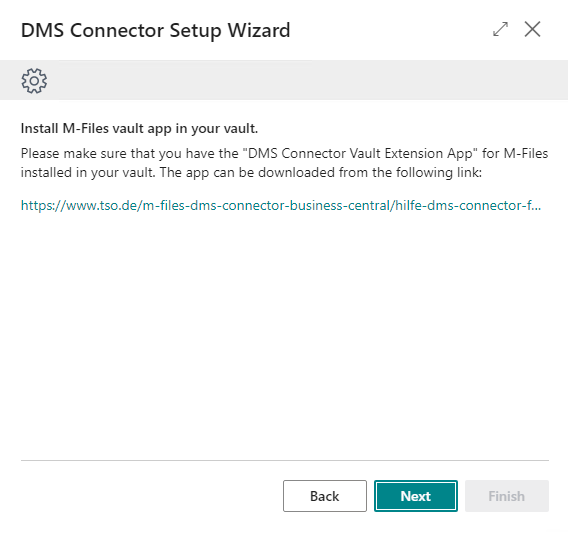
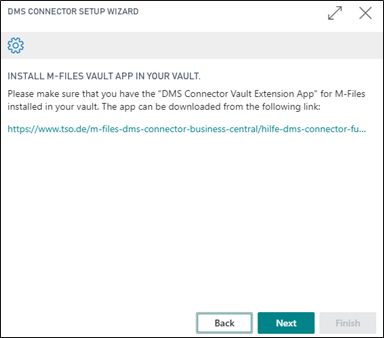
If not done yet, follow the instructions for the Vault Extension App installation to install the Vault Extension App.
-
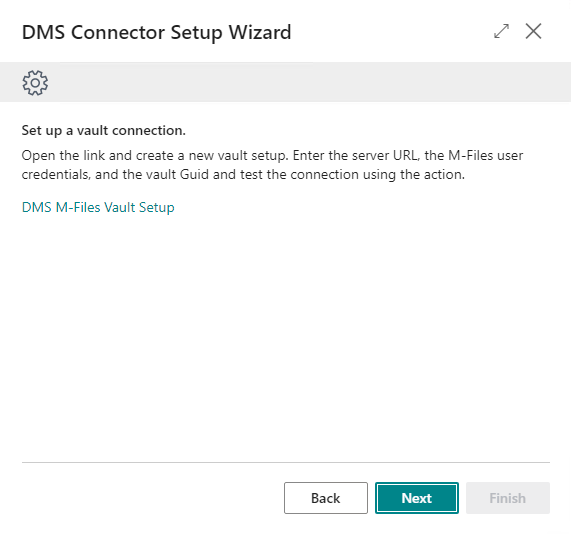
Click "DMS M-Files Vault Setup".
Setting up a new Vault
Follow the steps below to configure a new Vault setup.
-
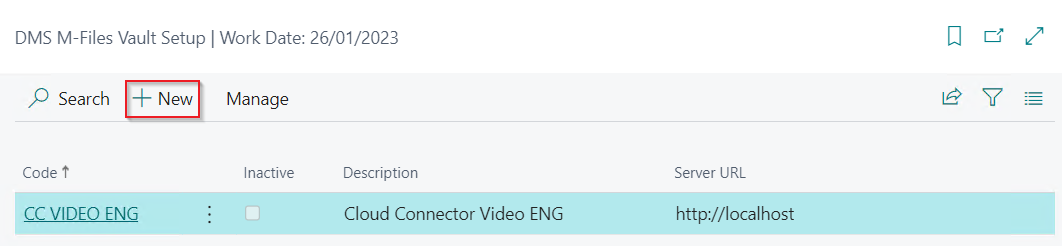
Click “New” to configure a new Vault setup.
-
Fill out the below-mentioned fields:
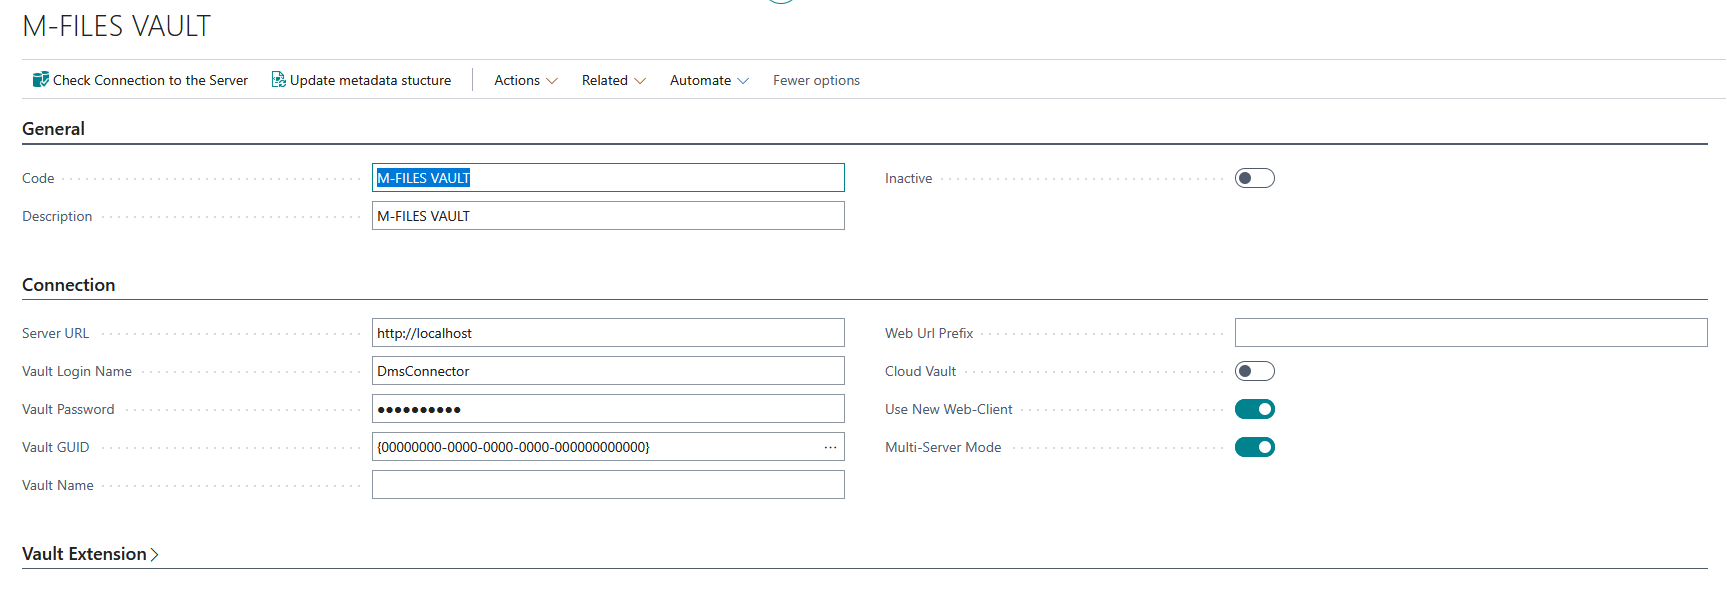
- Code: Enter a code for the connection (e.g., MF Cloud).
- Description: Enter a description for the connection (e.g., MF Cloud Vault).
- Server URL: Enter the URL of the M-Files server. The server URL requires "http://" or "https://" as a prefix.
- Vault Username: Enter the login name for the M-Files user of the DMS Connector. This user is used to transfer data between BC and M-Files and requires a separate M-Files named user license.
- Vault Password: Enter the password for the M-Files user of the DMS Connector.
- Vault GUID: Enter the specific M-Files Vault GUID.
- Vault Name: Enter the name of the vault to be used.
- Web URL Prefix: Specifies if a different url is needed to call the objects/files for the web client.
- Use New Web Client: If this is enabled, the new M-Files Web Client using the vnext suffix will be used.
- Multi-Server Mode: This should be enabled if the connection cannot be established in the next setup step. This option may be required when connecting to a cloud vault, for example.
-
Click “Check connection to the server”
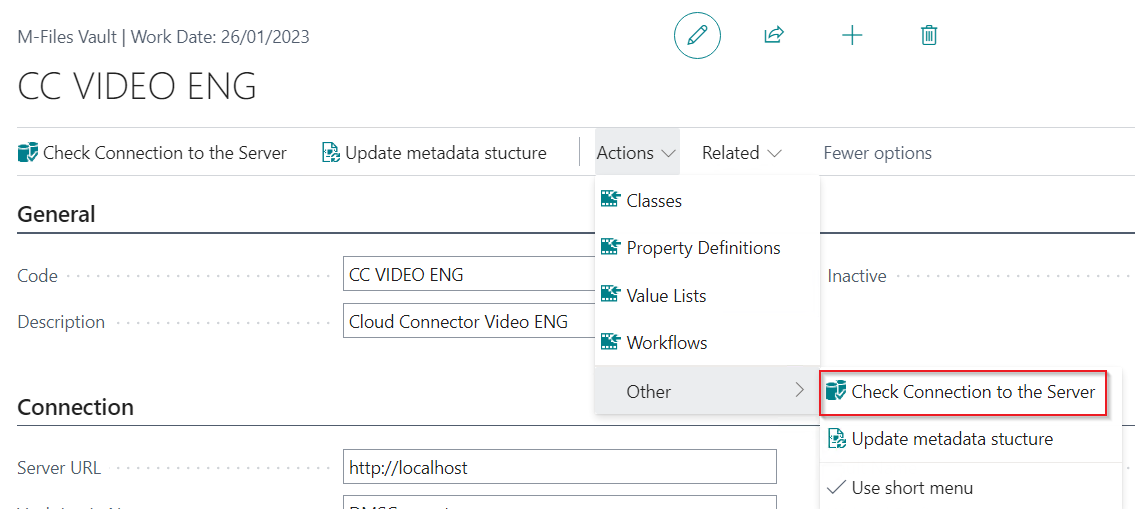
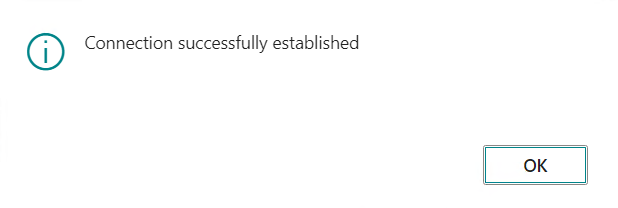
Your vault connection will be checked in the background. If the connection is successful, you will receive corresponding information. If no successful connection is established, repeat the previous steps and check your details.
-
Section "Vault Extension"
This checks if the Vault Extension app is installed. If the installation was successful, the version number of the app will be displayed. For details on installing the Vault Extension, see The Installation of the Vault Extension App for M-Files.
-
"Update Metadata Structure:" Perform the "Update Metadata Structure" action from the navigation bar.
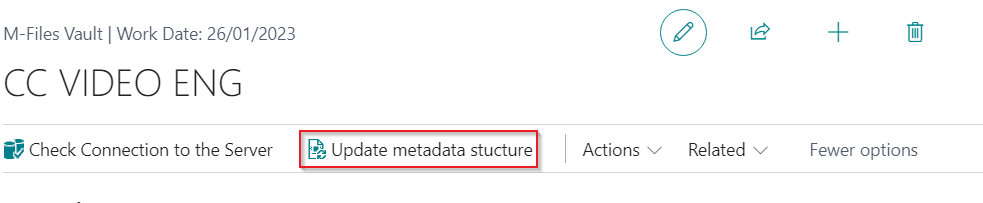
Updating the metadata structure updates the existing structure in the DMS Connector or Business Central from M-Files. This includes classes, properties, value lists, and workflows. If there are any changes to the metadata structure in M-Files, the metadata structure should also be updated here.
Initial Setup: Part 2
Close the page with ESC or click  , to return to the supported setup.
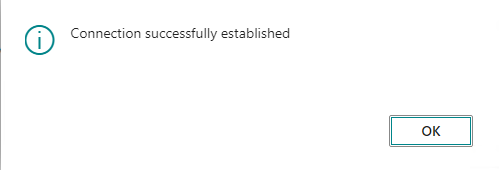
When the connection has been successfully established, you will receive a corresponding information from the system.
-
Click "OK" and then "Next".
-
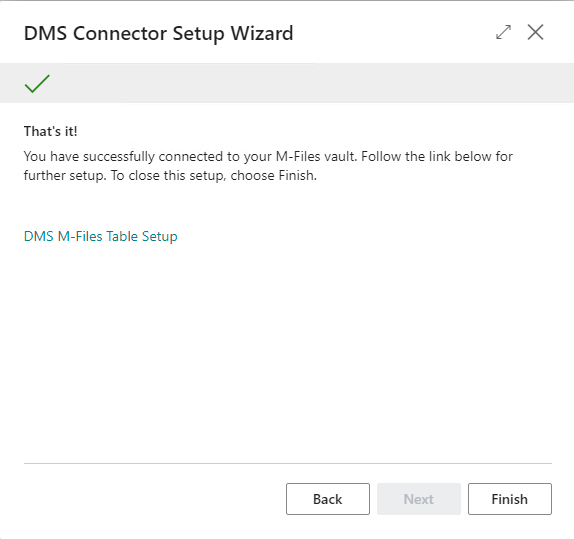
Click "Finish" to complete the initial setup for an M-Files Vault. Afterwards continue with the DMS Table Setup.